

Check out this video overview of our repair and service department
Whether you're gearing up for a vacation by the lake, a trip across states, or hauling essential cargo for your business, ensuring your trailer is in top shape is crucial. Just like your vehicle, your trailer demands regular maintenance to perform at its best and last longer. Let's dive into a comprehensive guide to preventative trailer maintenance, so you can tow with confidence and safety!
Maintenance Musts: Your Go-To Checklist
Before Every Tow
Ensure your trailer is road-ready each time you plan to use it by following these essential checks:
- Breakaway Brakes and Battery: Test operation and ensure the battery is charged.
- Electric and Surge Brakes: Confirm operational status.
- Couplers and Hitch Balls: Inspect for wear and apply grease if needed.
- Tires and Wheels: Check pressure and look for any signs of wear or damage.
- Safety Chains and Hooks: Examine any damage or excessive wear.
Weekly Attention
- Tire Pressure: Always check when tires are cold and inflate according to the manufacturer's specs.
Every 3 Months or 3,000 Miles
- Brakes: Check and adjust to ensure optimal performance.
- Wheel Nuts: Tighten to the manufacturer's specified torque.
- Tires: Inspect for any damage or unusual wear.
Every 6 Months or 6,000 Miles
- Brake Components: Examine for wear or damage and test the controller operation.
- Suspension Parts: Check springs and other components for integrity.
- Wheels: Inspect for any physical damage or defects.
Annual Deep Dive (or Every 12,000 Miles)
- Brake Systems: Comprehensive check for lining and wiring wear or damage.
- Bearings and Hubs: Inspect for wear; clean and repack every 6 months or 12,000 miles, whichever comes first.
DIY Spotlight: How to Repack Trailer Bearings
Repacking the bearings of your trailer every 6 months or 12,000 miles, whichever comes first, is a crucial task that can save you from costly repairs down the road. Here’s a step-by-step guide to get you through:
1. Remove the Wheel and Dust Cap: Use a screwdriver and hammer to remove the cap.
2. Unfasten the Cotter Pin and Nut: This will allow you to access the hub.
3. Inspect and Clean the Bearings: Remove both bearings and wipe them clean. Check for wear or roughness.
4. Repacking the Bearings:
- Using a Tool: Use a bearing packer to inject new grease.
- By Hand: Work grease thoroughly into the bearing with your hands.
5. Reassemble: Place the bearings back, secure the hub, adjust the nut, and ensure the wheel spins freely.
Your Year-Round Maintenance Roadmap
Monthly Maintenance
- Lubrication: Keep gate and door hinges well-oiled if equipped.
Semi-Annual Checklist
- Brakes and Tires: Check wear on brakes and inspect tires for safe tread levels.
- Wheel Bearings: Check for looseness or damage and lubricate as needed.
Don't Forget!
-Professional Inspection: Besides your regular checks and maintenance, getting a professional inspection annually or after any impact is a wise decision.
Why Maintaining Your Trailer is Essential
A well-maintained trailer not only ensures safety on the road but also prolongs its lifespan, ensuring you get the best value out of your investment. Regular checks and maintenance reduce the risk of breakdowns and the costs associated with repairs.
Don't wait until it's too late. Contact us and get your next maintenance service scheduled today. We will go through the brakes, bearings, seals, springs, and tires before any of them leave you sitting on the shoulder.
Request service online, or call whichever lot is closer to you:
- Thomasville: 336.276.0329, 221 Boots Evans Road, Thomasville, NC 27360
- Winston-Salem: 336.499.9888, 4600 N Patterson Avenue, Winston-Salem, NC 27105
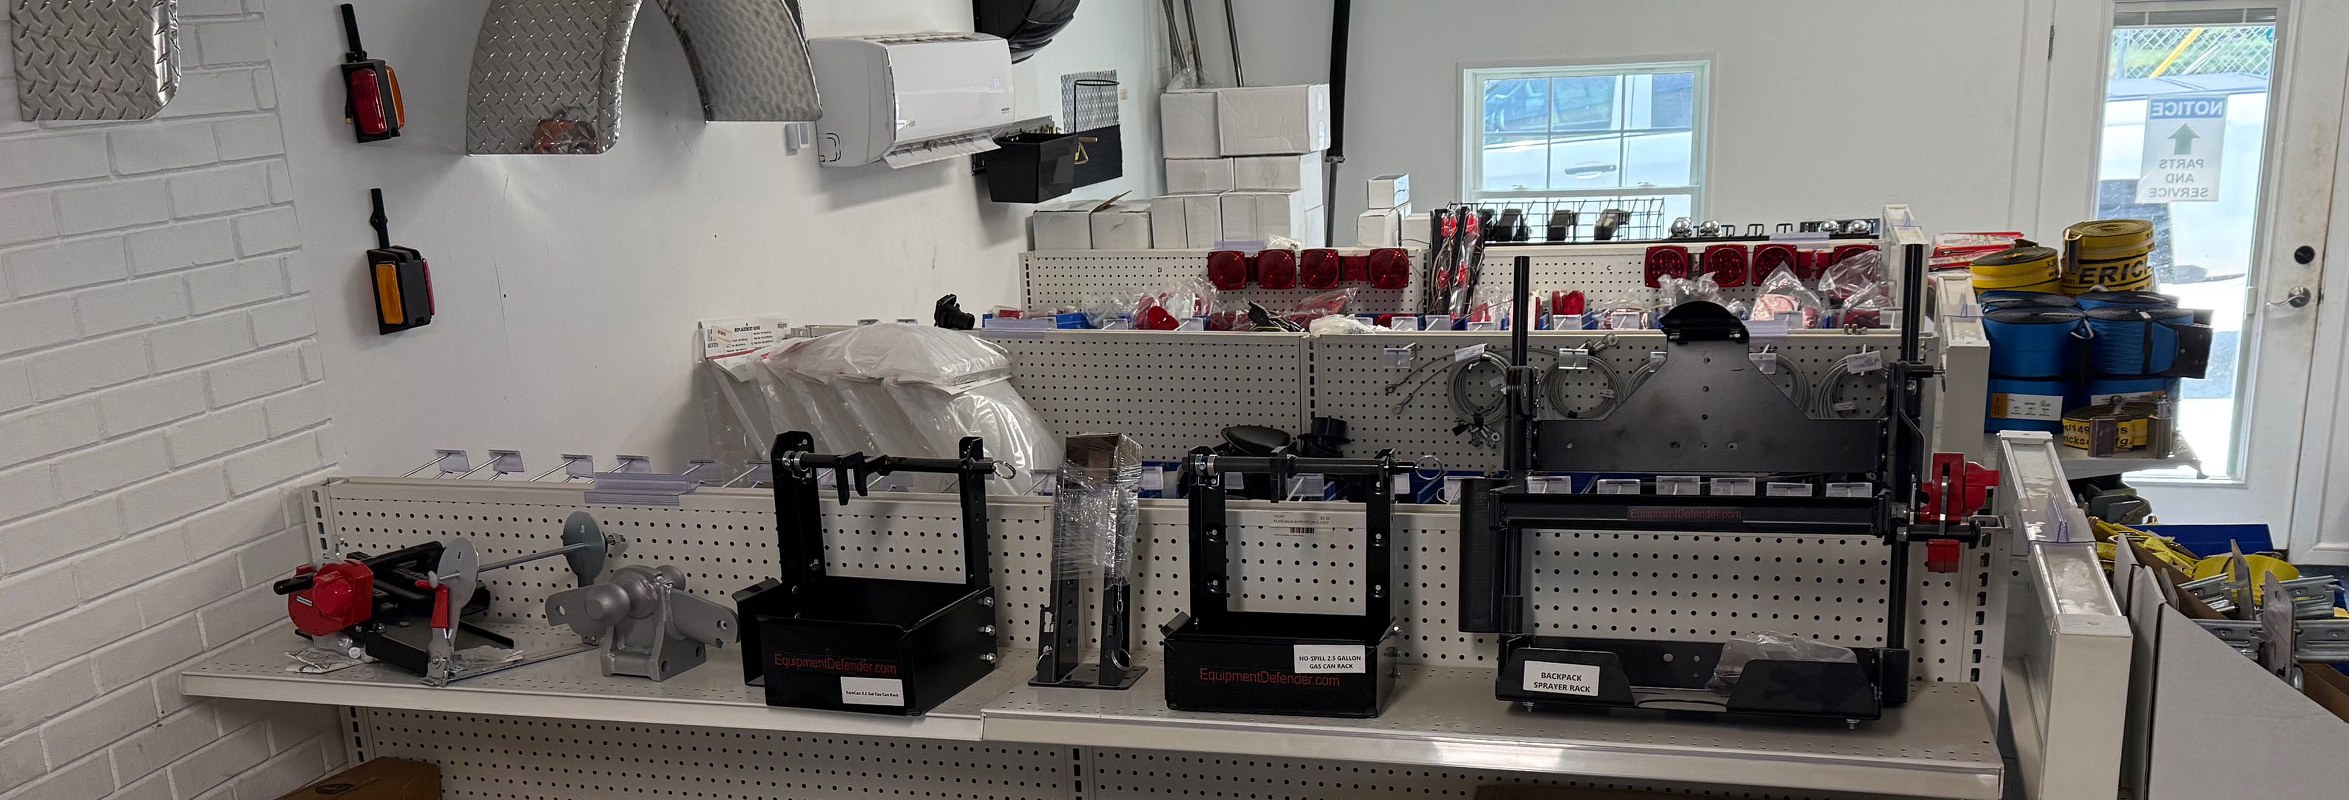
Doing the work yourself? Get in touch with our parts department for grease, seals, bearings, and the rest of what you need.
Here are Some Reference Charts to Help with Your Maintenance:
These come out of Dexter's Light Duty (600-8K) Operation Maintenance Service Manual, which covers the axles under most of what sits on our lots. Check the manual for your own axle, and follow your trailer manufacturer's instructions wherever they differ.
Dexter Maintenance Schedule
| Item | What to do | How often |
|---|---|---|
| Brakes | Test that they are operational | At every use |
| Breakaway system | Check battery charge and switch operation | At every use |
| Tire inflation pressure | Inflate to the tire manufacturer's specifications | Weekly |
| Brake adjustment | Adjust to proper operating clearance (not required with Nev-R-Adjust brakes) | 3 months / 3,000 miles |
| Wheel nuts and bolts | Tighten to specified torque values | 3 months / 3,000 miles |
| Tire condition | Inspect for cuts, wear, bulging | 3 months / 3,000 miles |
| Suspension wet bolts and equalizers | Grease | 3 months / 3,000 miles |
| Extreme duty bushings | Grease | 3 months / 3,000 miles |
| Brake magnets | Inspect for wear and current draw | 6 months / 6,000 miles |
| Brake controller | Check for correct amperage and modulation | 6 months / 6,000 miles |
| Suspension parts | Inspect for bending, loose fasteners and wear | 6 months / 6,000 miles |
| Wheels | Inspect for cracks, dents, or distortion | 6 months / 6,000 miles |
| Brake linings | Inspect for wear or contamination | 12 months / 12,000 miles |
| Brake cylinders | Check for leaks, sticking | 12 months / 12,000 miles |
| Brake lines | Inspect for cracks, leaks, kinks | 12 months / 12,000 miles |
| Trailer brake wiring | Inspect wiring for bare spots, fray, etc. | 12 months / 12,000 miles |
| Hub and drum | Inspect for abnormal wear or scoring | 6 months / 12,000 miles |
| Wheel bearings and cups | Inspect for corrosion or wear, clean and repack | 6 months / 12,000 miles |
| Seals | Inspect for leakage, replace if removed | 6 months / 12,000 miles |
| Springs | Inspect for wear, loss of arch | 12 months / 12,000 miles |
| Hangers | Inspect welds | 12 months / 12,000 miles |
Dexter's manual lists 12 months for bearings; we service them every 6 months or 12,000 miles, whichever comes first.
Wheel Nut Torque Values
Tighten in stages and follow the star pattern instead of going around the circle. All values are foot-pounds.
| Wheel size | Stud size | 1st stage | 2nd stage | Final torque |
|---|---|---|---|---|
| 12" - 440 BC | 1/2"-20 | 20-25 | 35-40 | 60-75 |
| 12" - 545 BC | 1/2"-20 | 20-25 | 35-40 | 60-75 |
| 13" - 440 BC | 1/2"-20 | 20-25 | 35-40 | 60-75 |
| 13" - 545 BC | 1/2"-20 | 20-25 | 35-40 | 60-75 |
| 14" - 545 BC | 1/2"-20 | 20-25 | 50-60 | 100-120 |
| 15" - 545 BC | 1/2"-20 | 20-25 | 50-60 | 100-120 |
| 15" - 655 BC | 1/2"-20 | 20-25 | 50-60 | 100-120 |
| 16" - 655 BC | 1/2"-20 | 20-25 | 50-60 | 100-120 |
| 16" - 865 BC | 9/16"-18 | 20-25 | 50-60 | 140-170 |
| 16.5" - 655 BC | 1/2"-20 | 20-25 | 50-60 | 100-120 |
| 16.5" - 865 BC | 9/16"-18 | 20-25 | 50-60 | 140-170 |
| 16.5" x 9.75" - 865 BC (stud piloted, 90° cone nuts) | 5/8"-18 | 50-60 | 120-125 | 175-225 |
Every wheel above uses 60° cone nuts unless noted. On 17.5″ hub-piloted wheels the numbers change with the nut type, so check the Dexter manual or call our service department instead of guessing.
Never exceed these limits. Dexter's wheel studs are SAE grade 8. Maximum torque is 120 ft-lbs on 1/2″-20, 170 ft-lbs on 9/16″-18, and 325 ft-lbs on 5/8″-18. Past those numbers you damage studs and nuts, and that ends with a wheel leaving the trailer.
On a new trailer, and any time a wheel comes off: re-torque the wheel nuts at 10 miles, 25 miles, and again at 50 miles, then check them periodically after that. This is the step people skip most often, and it is the one that puts wheels in the ditch.
Source: Dexter Light Duty 600-8K Complete Service Manual (LIT-001-00), wheel torque requirements and maintenance schedule sections.
 About the Author